Field note · field craft
Wildlife Identification Photography: A Three-Frame Guide
by Joseph Fletcher · · 4 min read
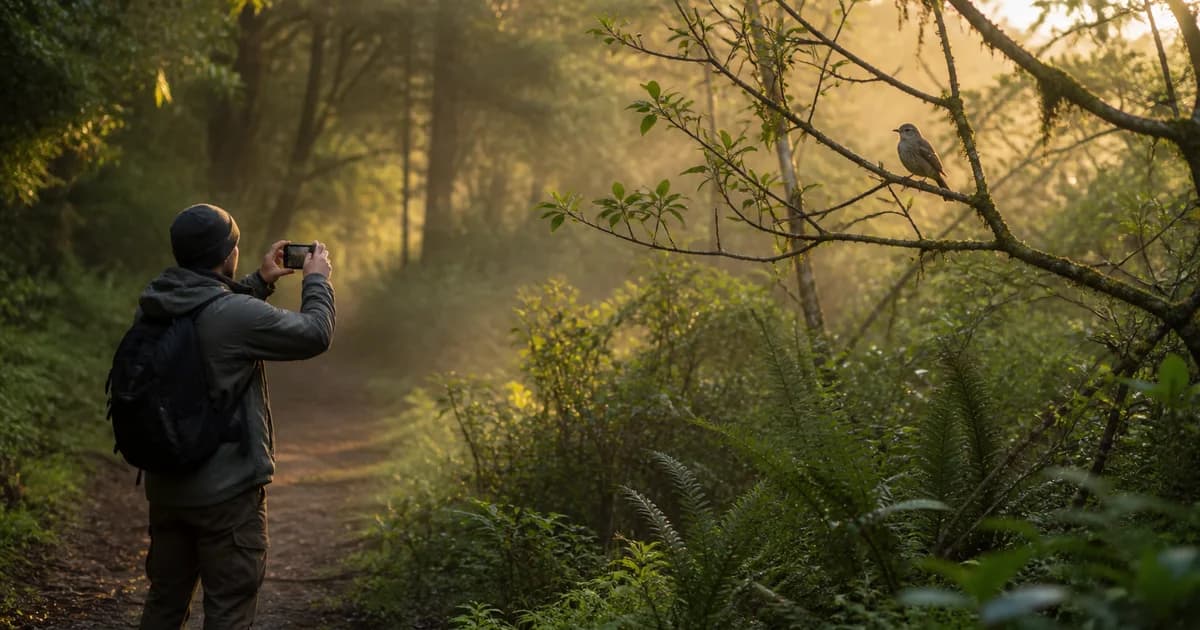
Photograph wildlife for identification with three frames when you can do so safely: the whole subject, one visible detail from your current distance, and the surrounding habitat. Do not approach, feed, touch, move, corner, or disturb wildlife to complete the set.
You can compare a result only with details your photos preserve. The three-frame method gives you a repeatable record without pretending that a camera result overrides local safety rules or expert review.
If your subject is a bird, Birdr AI: Bird Identifier can start from bird photos or a short sound recording and return a likely identification with confidence information. Treat that result as a starting point for verification, not a verdict. Birdr AI: Bird Identifier does not cover mammals, insects, plants, or fungi.
Use the three-frame field protocol
| Frame | Include | Stop when… |
|---|---|---|
| 1. Whole subject | Full outline, posture, visible colors or markings | The animal changes behavior, looks toward you repeatedly, moves away, or a rule requires more distance |
| 2. Useful detail | A feature already visible through optical zoom | You would need to approach, block movement, touch, turn, or bait the subject |
| 3. Context | Branch, shoreline, host plant, substrate, nest area from a lawful distance, or nearby scale cues | The context contains a sensitive location you should not publish |
Your safety rule comes first. According to U.S. National Park Service wildlife guidance, visitors should give wildlife room, check each park's rules, use zoom or binoculars, and move back when animals approach. Distances vary by place and species, so follow the local rule rather than copying one number into every field situation.
Keep the whole subject in frame
Keep the whole subject in frame by starting wide enough to preserve its full outline. A whole-subject frame gives you a record you can revisit without guessing what the crop removed.
Do not move closer to wildlife for a better image. Use the clearest frame you can take from your current position, and leave without a photo when distance matters more than detail.
The National Park Service safe-photography guidance reports that photographers should use a zoom lens, stay behind barriers, and back up even when the animal moves toward them. That advice applies in U.S. national parks; other places can impose different or stricter rules. Check local closures, nesting protections, and species guidance before you go.
Make the whole-subject frame useful
- Keep the full outline inside the image.
- Hold the horizon level when it helps you read posture or habitat.
- Avoid digital filters that change color.
- Take a short burst only when noise and rules allow it.
- Preserve the original file with its timestamp.
Do not chase perfect sharpness. Motion blur can still preserve outline, group size, direction, and context. Label the limitation instead of presenting a soft detail as certain.
Add one useful detail
Add one useful detail with a second photo that preserves what the wide frame cannot. That might be a bird's bill, a leaf edge, a mushroom's underside, or the pattern already visible on an animal.
Do not touch, move, turn, or handle a subject to expose another angle. An automated result cannot authorize contact.
Choose the detail from the subject type:
| Subject | Useful visible detail | Do not do this for the photo |
|---|---|---|
| Bird | Bill shape, wing pattern, tail, leg color | Approach a nest, flush the bird, or play calls without local guidance |
| Mammal | Ear shape, tail, coat pattern, tracks from a safe place | Move between an adult and young or block an escape route |
| Insect | Wing pattern, antennae, body shape on its current surface | Pin, trap, or handle it for an app result |
| Plant | Leaf arrangement, bark, flower, fruit already within lawful reach | Break protected material or enter a closed area |
| Fungus | Cap, stem, surrounding substrate, underside only when already visible | Eat it or disturb it to expose hidden structures |
These prompts organize visible evidence. They do not make the subject safe to touch, eat, approach, or collect.
Save the surrounding context
Save the surrounding context with a third frame. Include the branch, shoreline, ground, host plant, or nearby objects when the frame helps you remember the setting.
Write down what the camera did not capture. Record your observations as notes, not conclusions.
Use a field card:
| Field | Record |
|---|---|
| Date and local time | Exact timestamp from the original photo when available |
| General place | Park, trail, shoreline, or habitat; omit sensitive coordinates from public posts |
| Weather and light | Only what you observed |
| Subject count | Exact, estimated, or unknown |
| Behavior | Observable movement or posture, not intent |
| Sound | Your description or a separate recording when lawful and safe |
| Distance and tool | Estimate plus camera/zoom used |
| Missing detail | What the image cannot show |
Keep private location data private when publication could expose a nest, den, rare species, or vulnerable habitat. Ask a local conservation authority or records program how it handles sensitive coordinates.
Compare the evidence
Compare the evidence by reading the confidence score as uncertainty. When the result includes an explanation, check each point against the details you can see in your photos. Take another photo only when you can do so without moving closer or disturbing the subject.
Compare the result with a trusted local field guide, park resource, museum, herbarium, natural-history collection, or qualified expert. Write down which visible feature supports the candidate and which feature conflicts. Do not hide a contradiction because the confidence number looks high.
However, a low-confidence result can still give you useful research terms, and a high-confidence result can still be wrong. The score belongs to the model's output; it does not measure your safety, edibility, toxicity, legality, or the financial value of a specimen.
An automated identification can be wrong. Do not use a result to decide whether to eat, touch, approach, handle, treat, or appraise something. Ask a qualified local expert when the decision affects your health, safety, or money.
Review the record before you share it
- Remove or generalize sensitive coordinates.
- Keep the original files unchanged.
- Label crops and brightness edits.
- Separate what you observed from what the app suggested.
- Name the reference or expert you used for confirmation.
- Keep “unknown” when the evidence remains incomplete.
For your own bird record, open Birdr AI: Bird Identifier, add the whole-bird frame and one clear feature or sound recording, then compare the candidate with a trusted local bird source. We checked these Birdr AI: Bird Identifier claims against the current product registry and website source on 15 July 2026. Birdr AI: Bird Identifier does not replace field safety rules or a qualified expert.
If the subject is not a bird, use the photography protocol without forcing a Birdr result. A different subject needs an app whose stated scope covers it—or no app at all.
Take the index with you
The next find won't wait for a field guide.
Open Birdr AI: Bird Identifier to document your find, review the visible evidence, and decide what you need to verify next.
Open Birdr AI: Bird Identifier